4 simple steps to shaving with a Nära safety razor.

Step 1: Replacing the blade
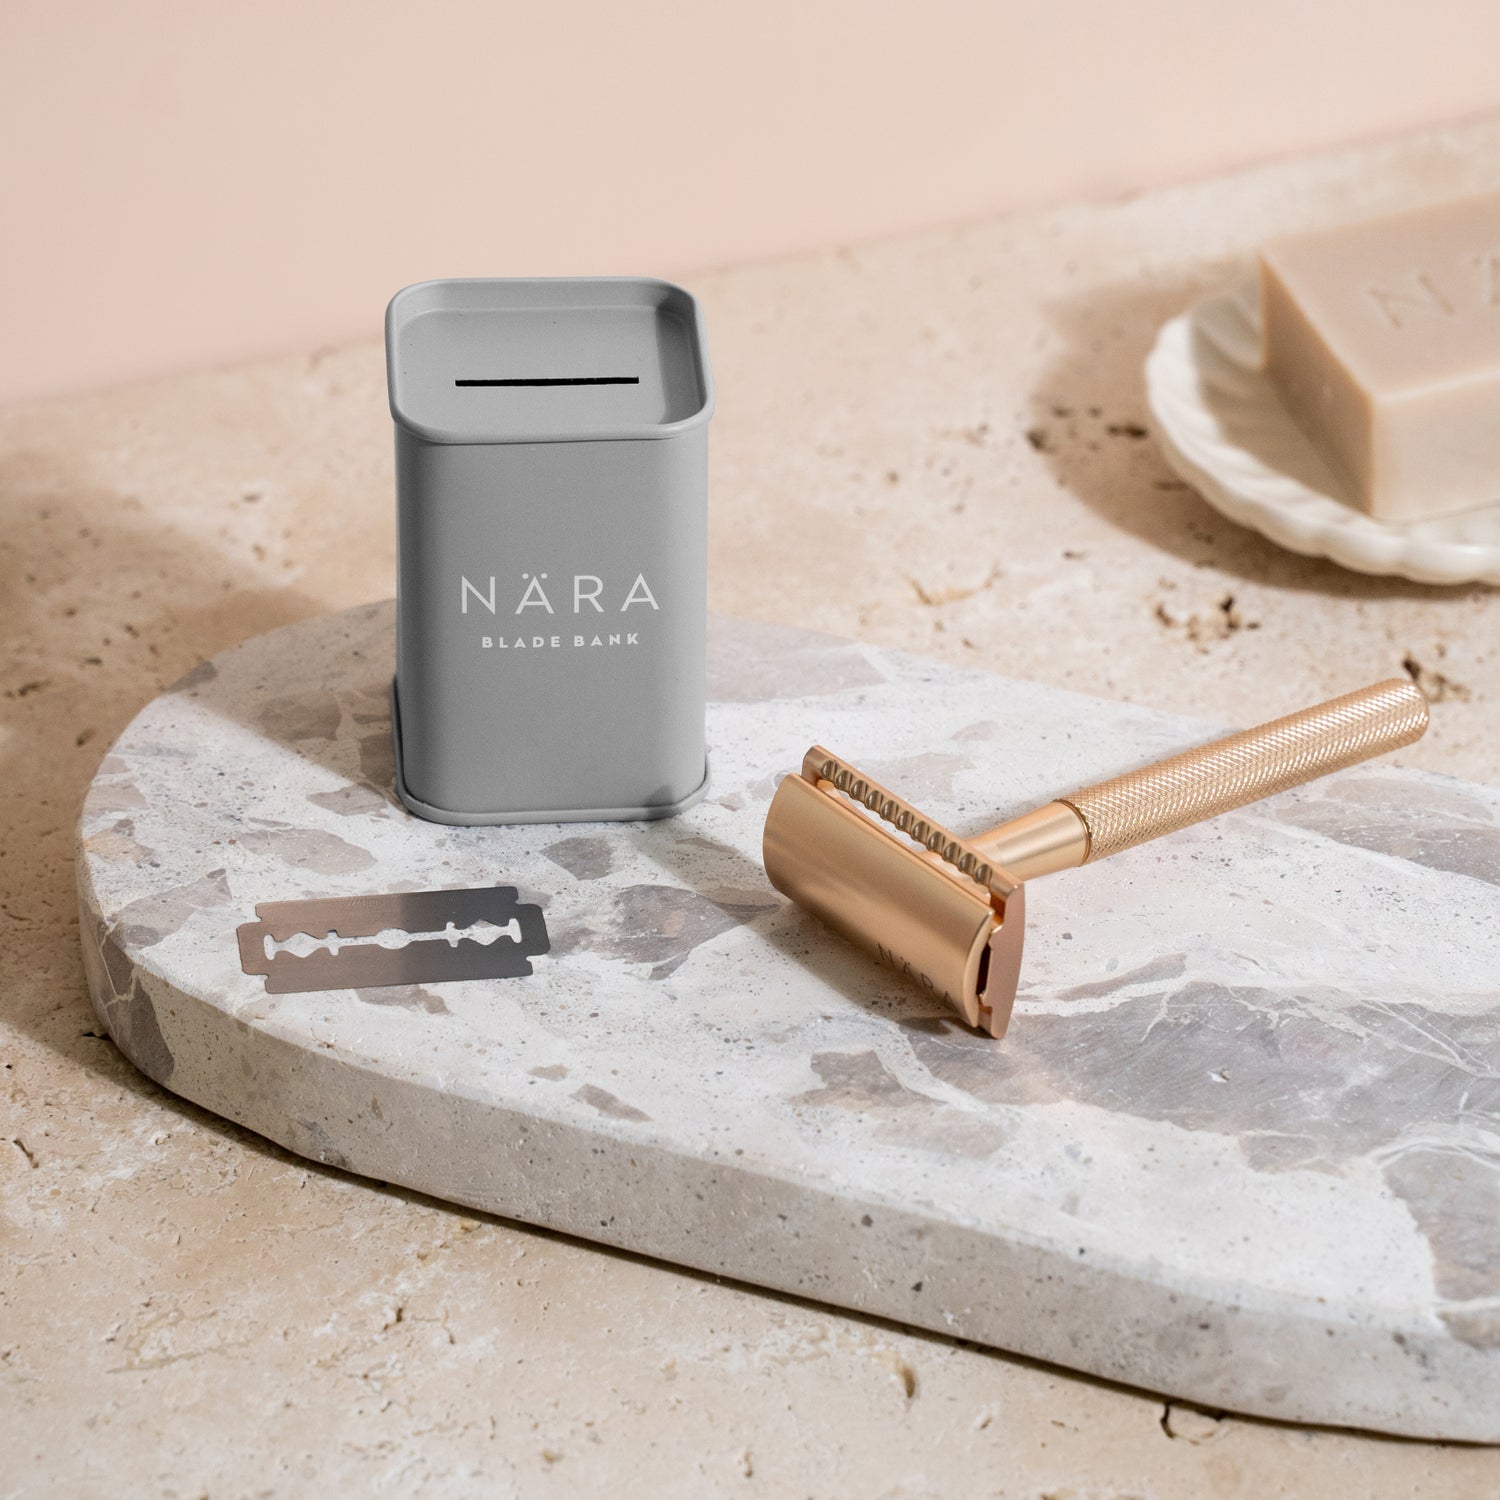
- Your Nära razor consists of three pieces: the handle, the guard (what the blade sits on) and the cap (what sits on top and screws the guard onto the handle)
- Hold the razor guard in one hand and with the other hand, twist the razor handle until it detaches
- Remove the cap and carefully place a new blade on the flat surface of the guard, making sure to line up the holes
- Replace the cap by passing the screw through the middle hole
- Firmly screw the handle back on

Step 2: Preparing your skin
- The best way to prepare your skin is to take a shower or bath before you shave. This helps remove dead skin cells, softens the skin and opens the pores
- If you don’t have time for a shower then simply dampen your skin with warm water and pat dry before you shave

Step 3: Using Nära Shave Oil
- If you’re using Nära shave oil, it’s recommended to shave after showering
- Be careful to not spill oil in your shower area as it will become slippery
- If it’s the first time you’re using the oil, remember to patch test to ensure your skin does not react to the ingredients
- Pour a generous amount of oil into one hand and massage into your skin before shaving

Step 4: Shaving with a Nära safety razor
- Shaving with a Nära safety razor may seem difficult at first, but after a few times it becomes super simple
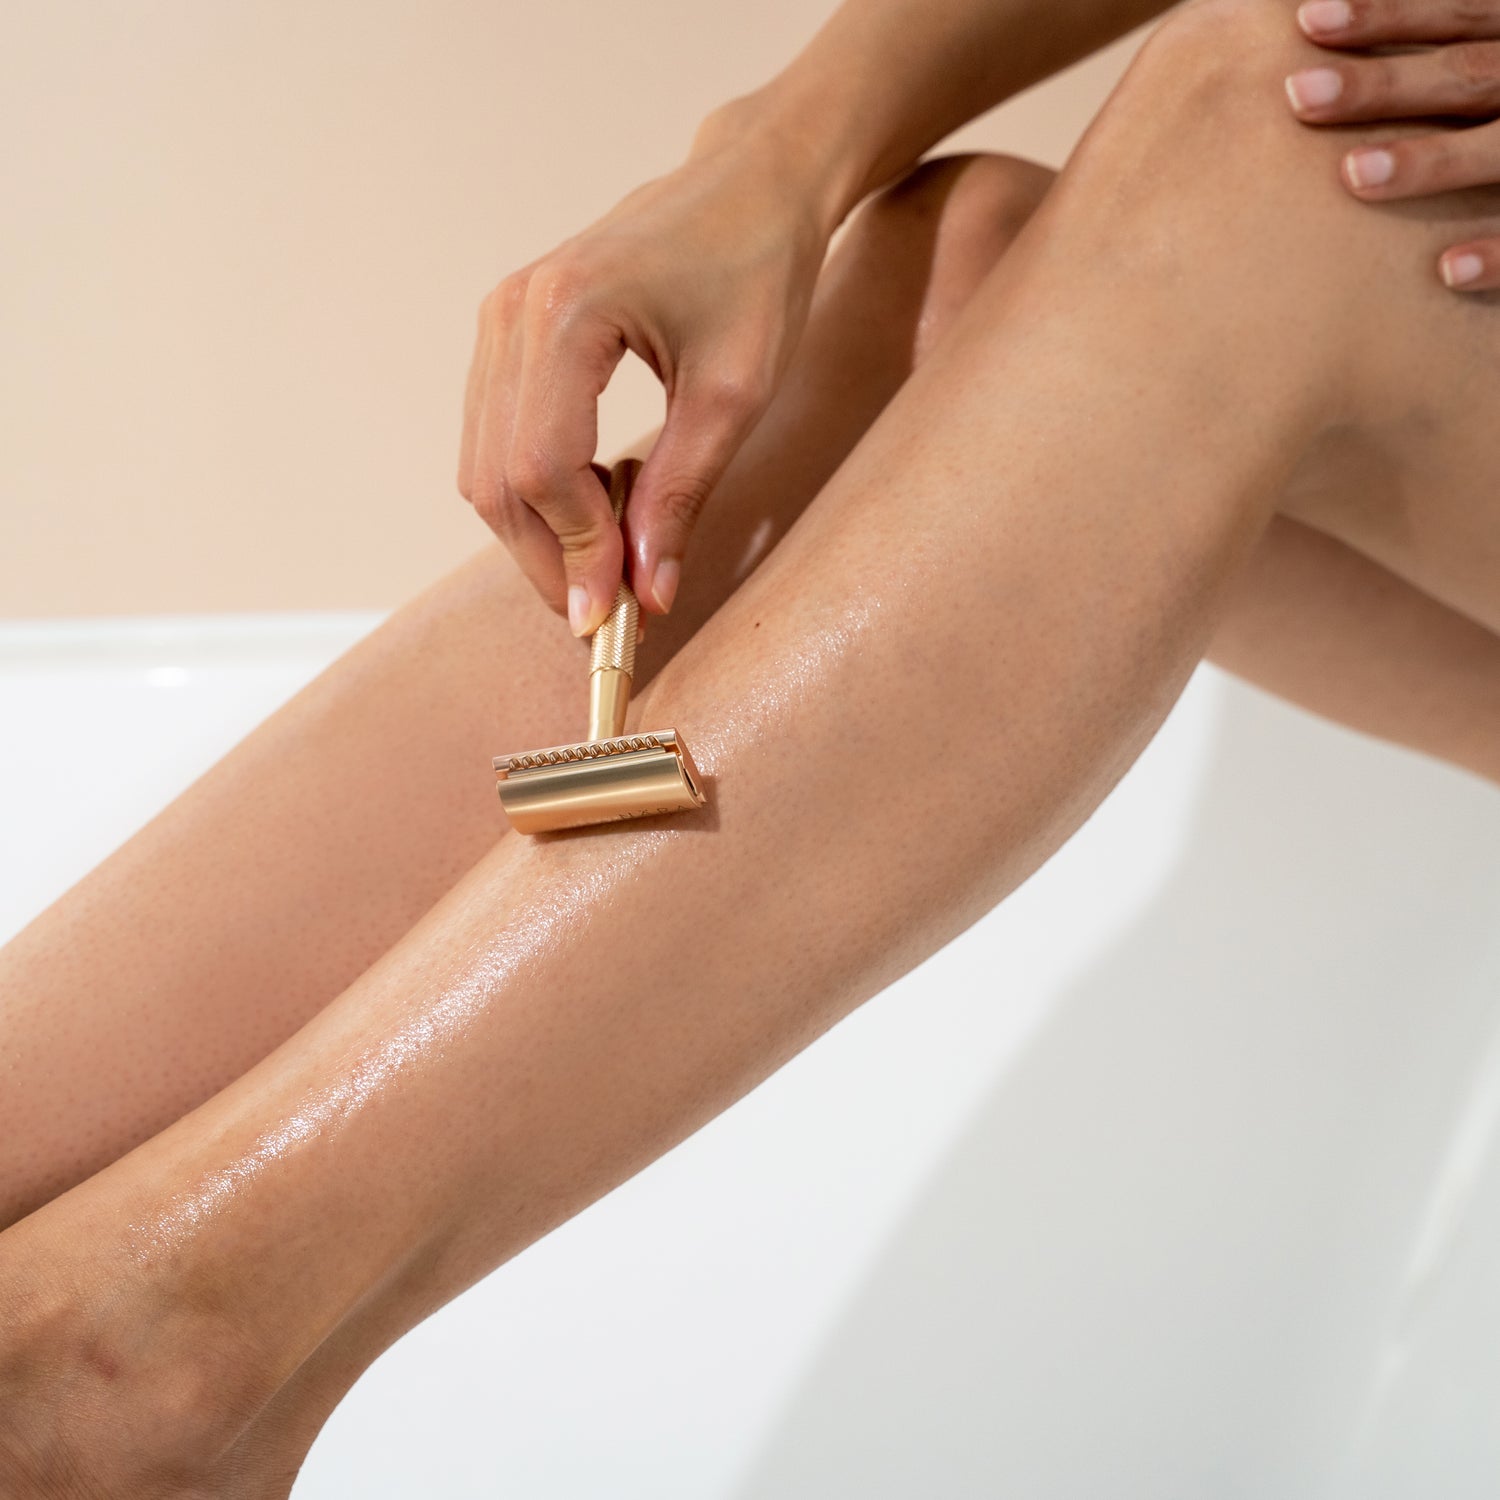
- Hold the razor at a 30 degree angle and gently glide the razor over your skin
- Instead of long sustained strokes, use short strokes to slowly work your way over large areas
- Take extra care around the skin covering your joints (ankles, elbows, wrists etc.)
- Regularly clear the razor head of hair by rinsing under running water and wiping dry on a towel
- Apply more oil as needed
- Once finished, you can leave any remaining Nära shave oil on your skin as it’s a great moisturiser!
-

Free carbon-neutral shipping over $50
-

60 day money-back guarantee
-

5% of sales donated to 5 Gyres
-

Vegan accredited skincare


